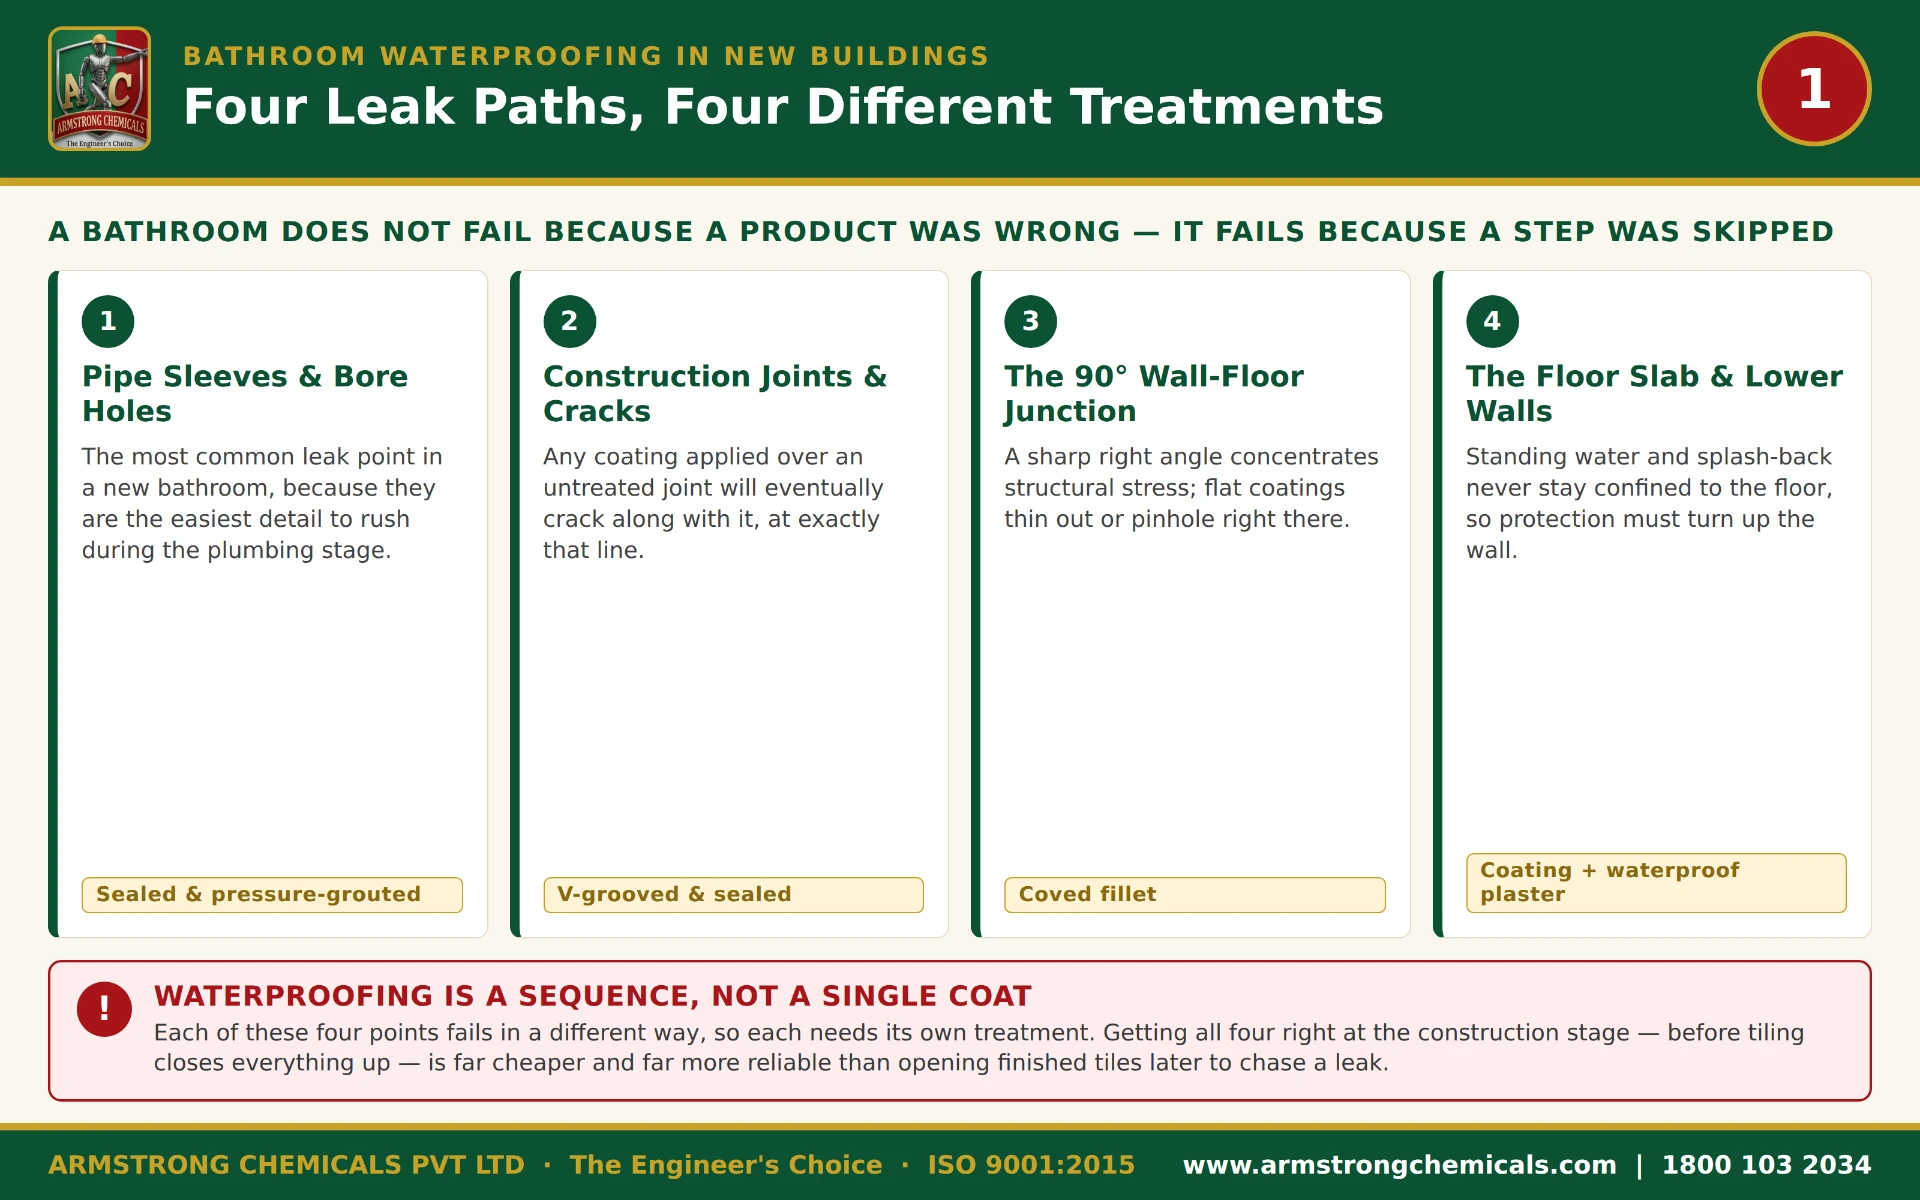
Why the Sequence Matters More Than the Product
A bathroom is the most aggressively wet room in any building. It is wet every day, often for hours, and the water is under the tiles — not on top of them. The tiles and the cement bed above the membrane are not the waterproof barrier; the membrane under them is. So the question is never just “which waterproofing product?” — it is “in what order were the steps done, and was each one completed before the next began?”
In new construction, the difference between a bathroom that stays dry for decades and one that leaks into the flat below within the first monsoon is almost always sequence, not chemistry. A perfectly good membrane applied over an unsealed pipe sleeve, or a waterproof plaster laid before the cove has cured, will still leak — because water follows the gap the skipped or out-of-order step left behind.
This guide walks through the six engineering steps, in the order they must be done, and the Armstrong product that does each one. Do them in this order, test before you tile, and the system protects itself.
Already have a leak in a finished bathroom? See the bathroom leakage repair guide.
Step 1 — Seal Pipe Sleeves and Bore Holes First
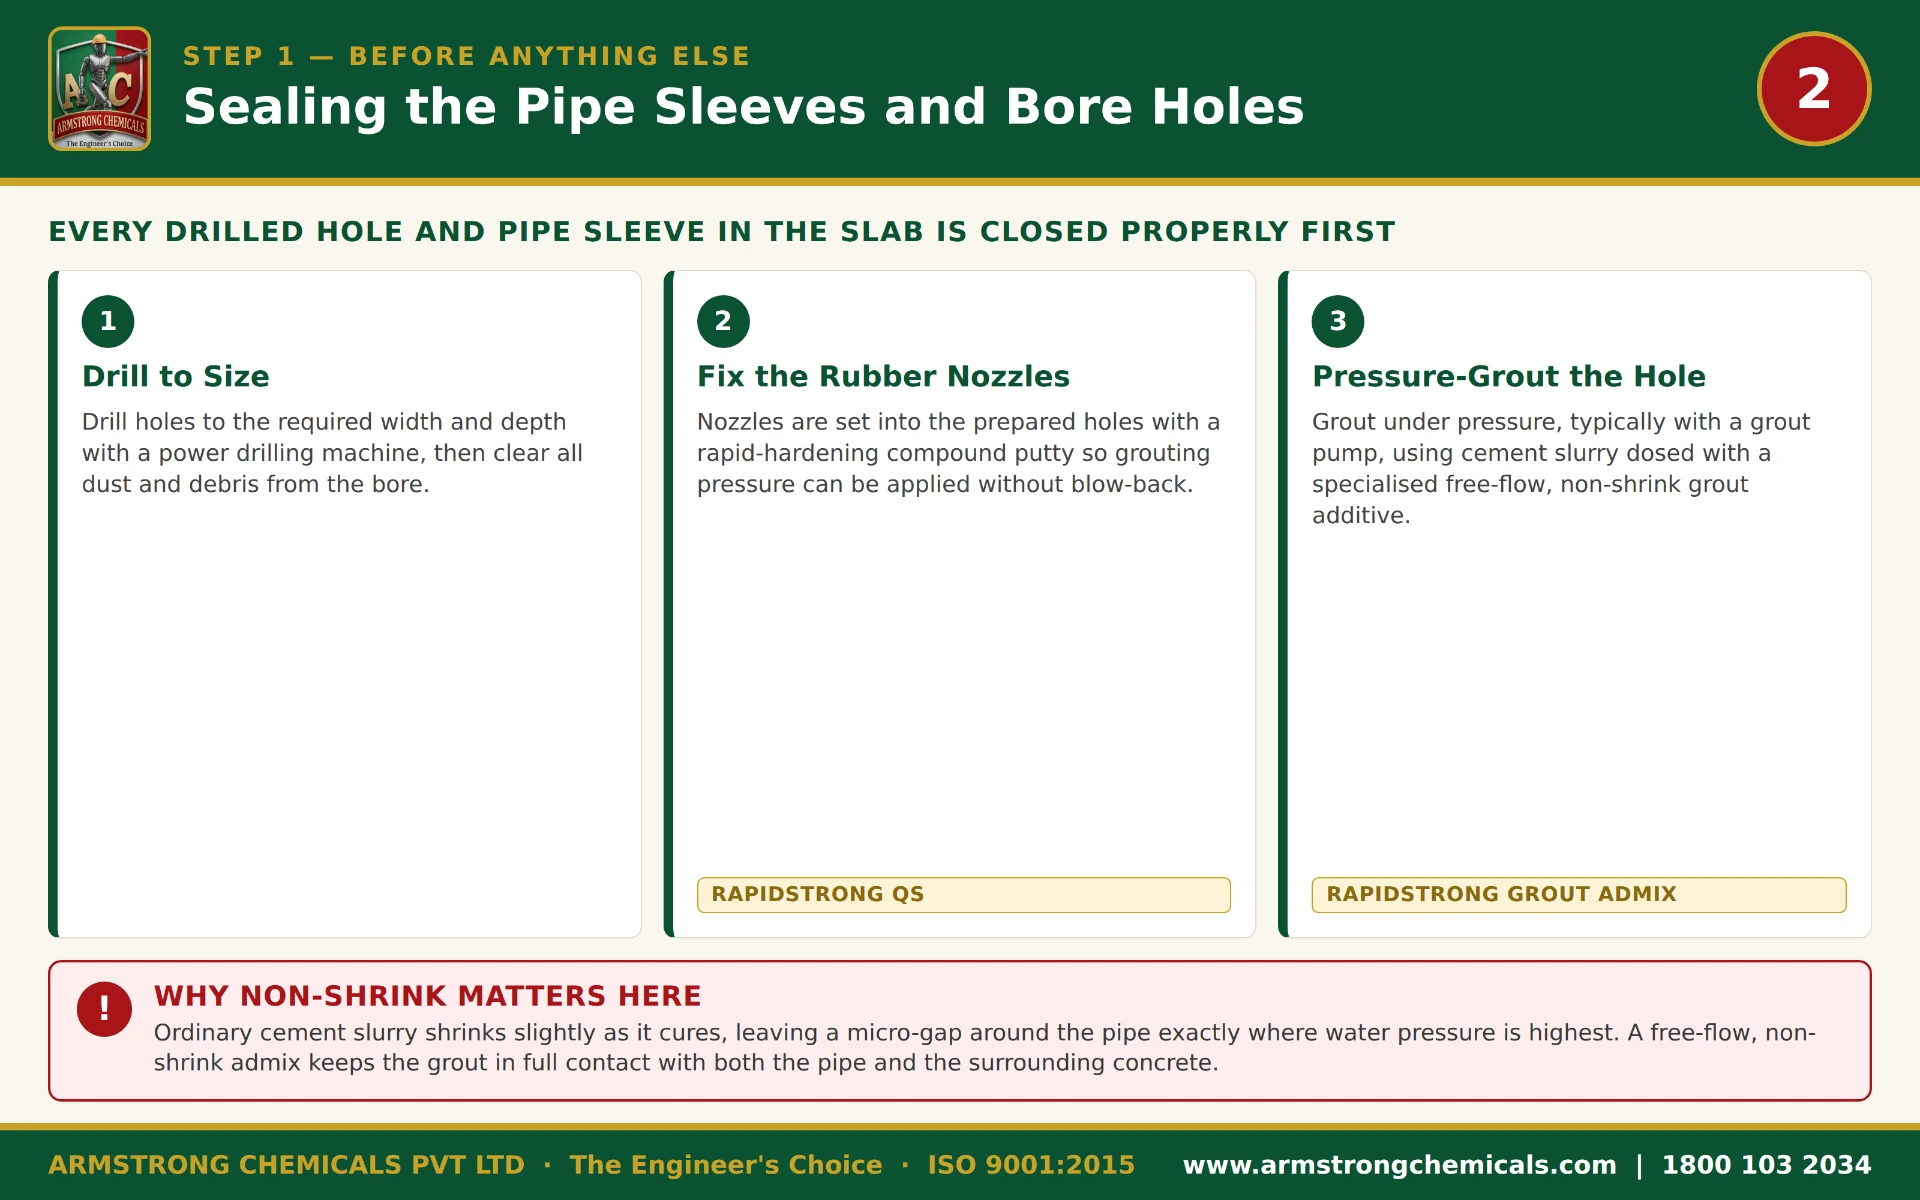
Every pipe that passes through the floor slab or wall — the waste pipe, the floor-trap connection, the concealed supply lines — is a ready-made leak path. The annulus (the gap between the pipe and the concrete) and the bore hole for a concealed line are the first places water travels once it gets under a tile. If these are left open and the membrane is laid over them, the membrane simply bridges the gap; the water runs along the pipe and out the soffit below.
Seal them before anything else. RAPIDSTRONG QS 113 is a rapid-setting sealing compound used to pack the sleeve annulus and bore holes. For grouting larger voids around sleeves, RAPIDSTRONG GROUT ADMIX is added to the cement grout to give controlled, non-shrink positive expansion — so the grout does not settle away from the pipe and leave a gap.
This step comes first because every later layer — joint sealant, membrane, cove, plaster — sits over penetrations that are already sealed.
Step 2 — Treat Construction Joints and Cracks Before Coating
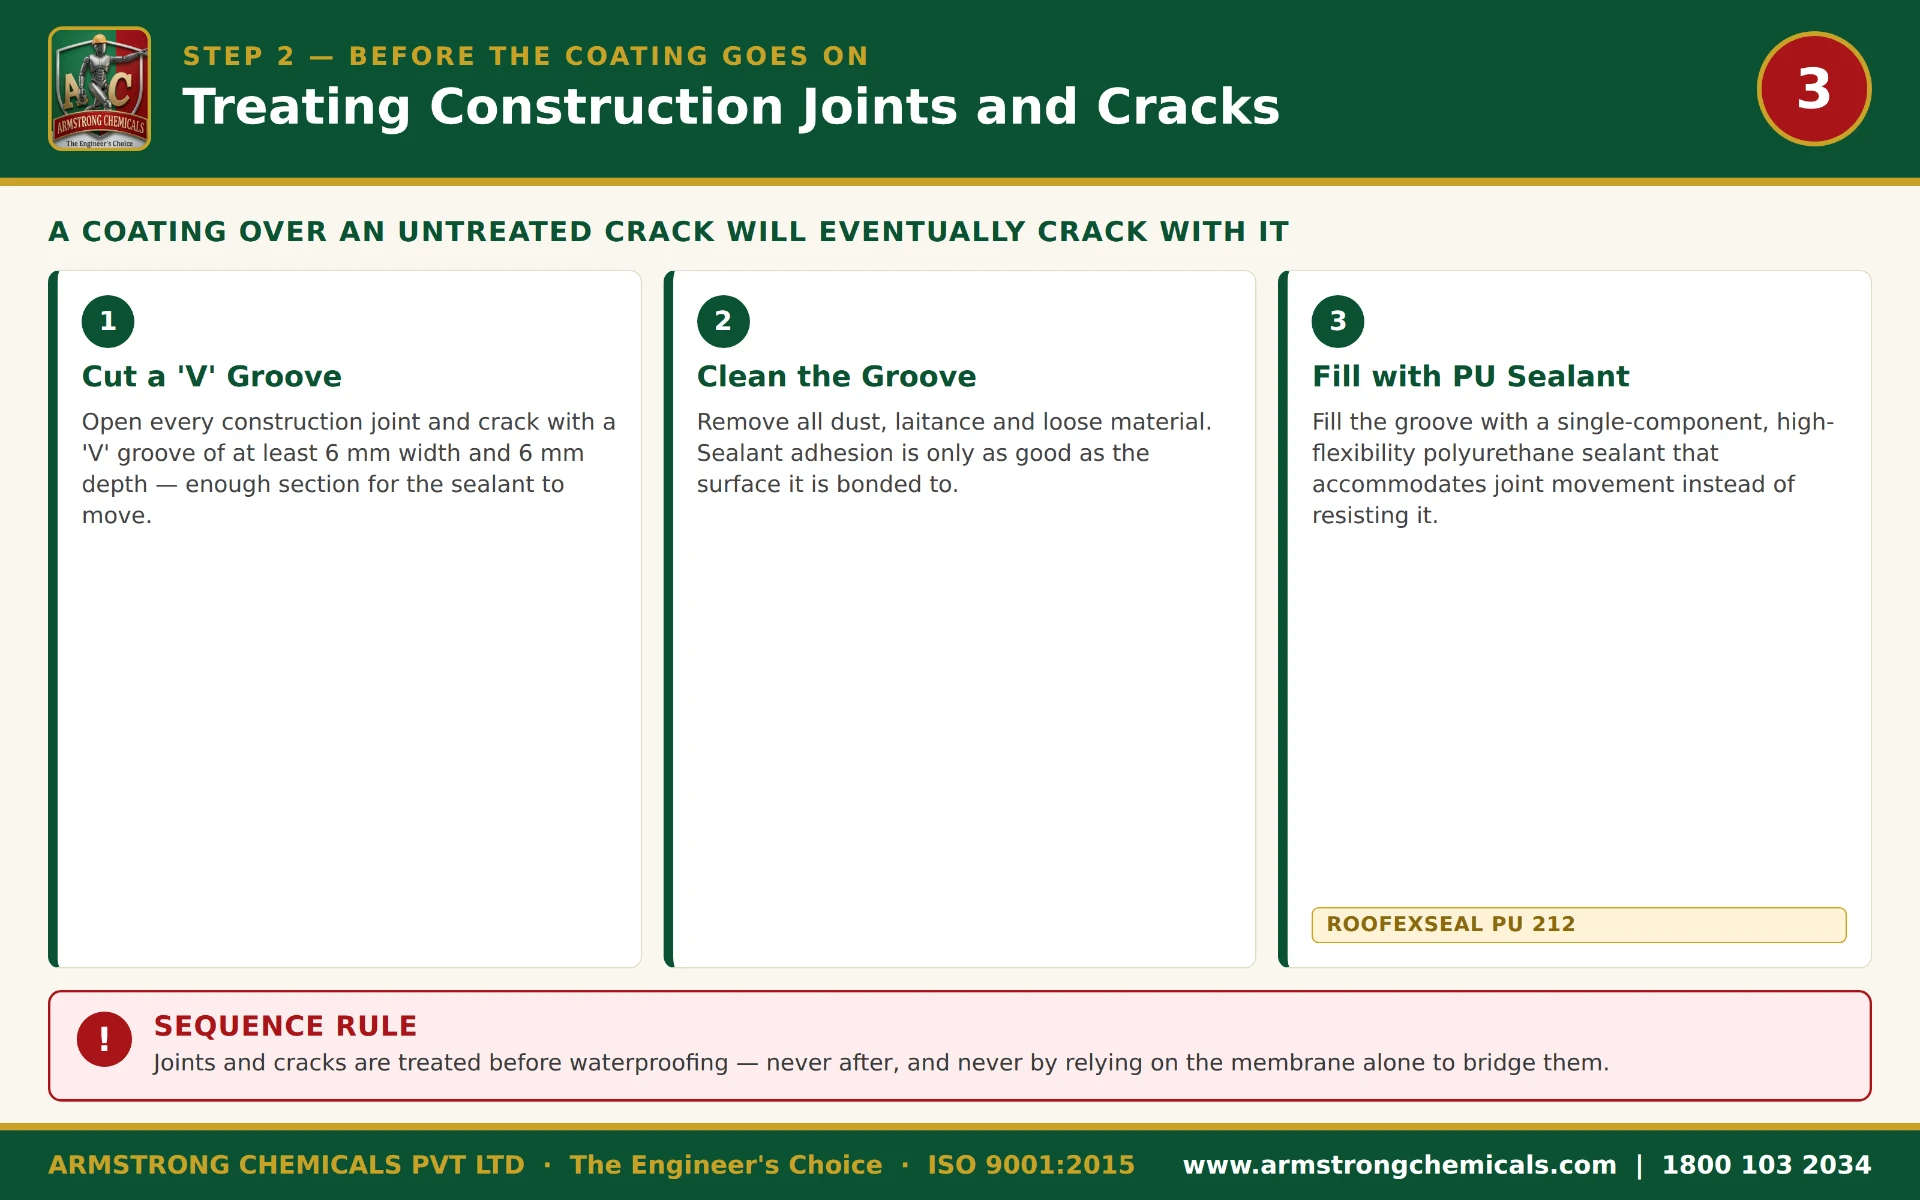
The construction joint between the floor slab and the enclosing brick or block wall, and any shrinkage cracks in the slab itself, are the second-most common entry path in a bathroom. A coating applied over an untreated joint simply bridges it — and tears the moment the joint moves under thermal or structural load.
Cut a V-groove along the joint or crack, clean it, and fill with ROOFEXSEAL PU 212 — a single-component polyurethane sealant with low modulus, primerless adhesion to concrete and masonry, and good UV and fungal resistance. Its low modulus means it stays flexible: it moves with the joint instead of cracking when the joint opens.
With the sleeves sealed (Step 1) and the joints treated (Step 2), the substrate is now sound and continuous — ready for the membrane.
Step 3 — The Waterproof Coating: Two Coats
The membrane is the actual waterproof barrier — the layer that stops water reaching the slab and the flat below. It goes onto the clean, sound, sealed substrate from Steps 1 and 2, in two coats, the second applied perpendicular to the first so no pinholes or thin spots carry through.
- ROOFCOAT FLEXI 100 — a single-component acrylic polymer cementitious coating with 120%+ elongation. Mix 1 litre of liquid with 2 kg cement and approximately 200 ml water; apply two coats at right angles, roughly 24 hours apart. Bridges hairline-to-moderate cracks and tolerates standing water — the standard choice for the bathroom floor and sunken portion.
- ROOFBOND RFX PLUS 210 — a two-part acrylic polymer-modified elastomeric cementitious coating with 5–5.5 N/mm² tensile strength and 120%+ elongation, specified where the bathroom sits over a water-retaining structure or where higher hydrostatic resistance is needed.
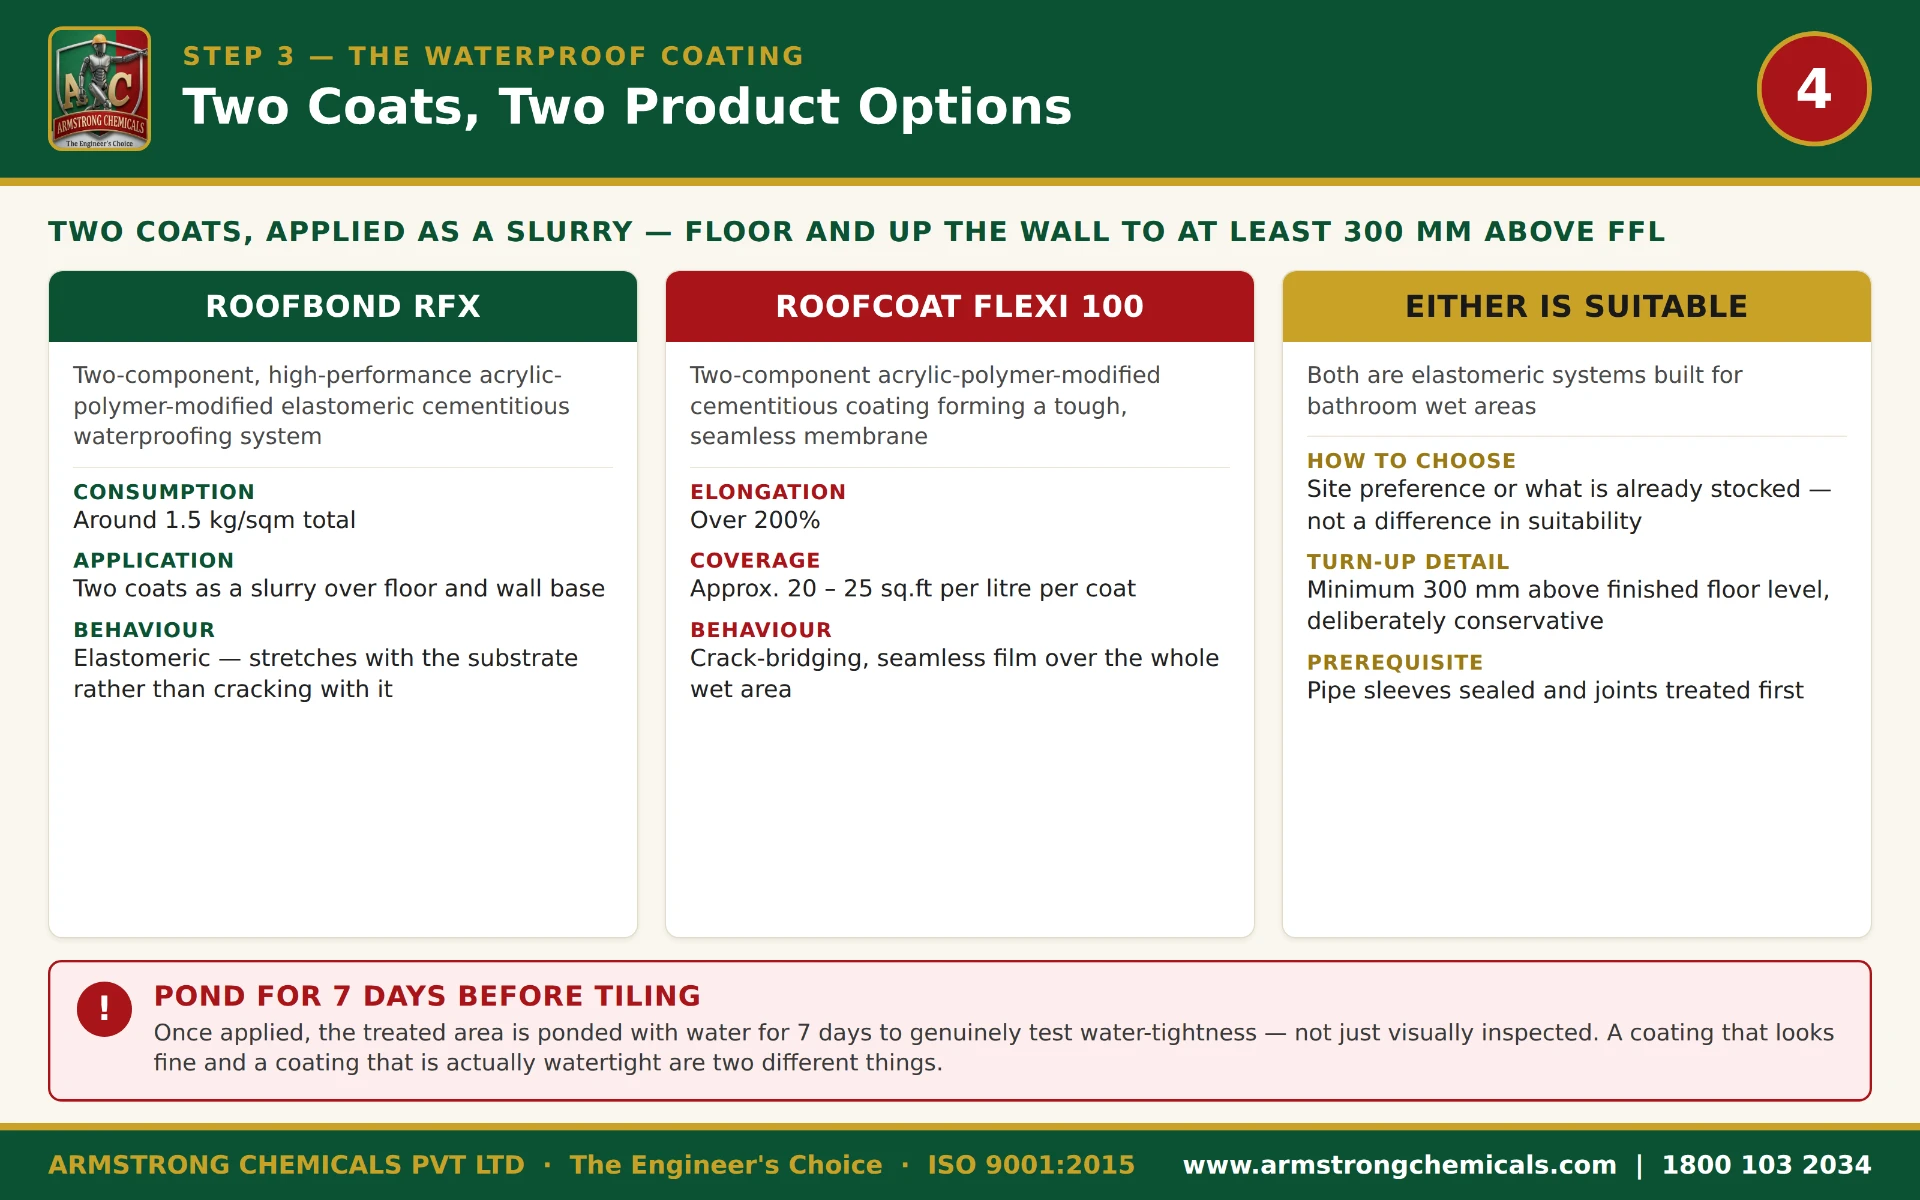
Then: the 7-day water ponding test. Once the membrane has cured, fill the sunken portion with water to a set depth and mark the level. Leave it for seven days. Any drop beyond normal evaporation means a leak path still exists — fix it before a single tile is laid. Tiling over an untested membrane buries the leak until it shows on the ceiling of the flat below, by which point the repair means breaking out the entire floor.
The ponding test is the checkpoint between “coated” and “trusted.” Never tile without it.
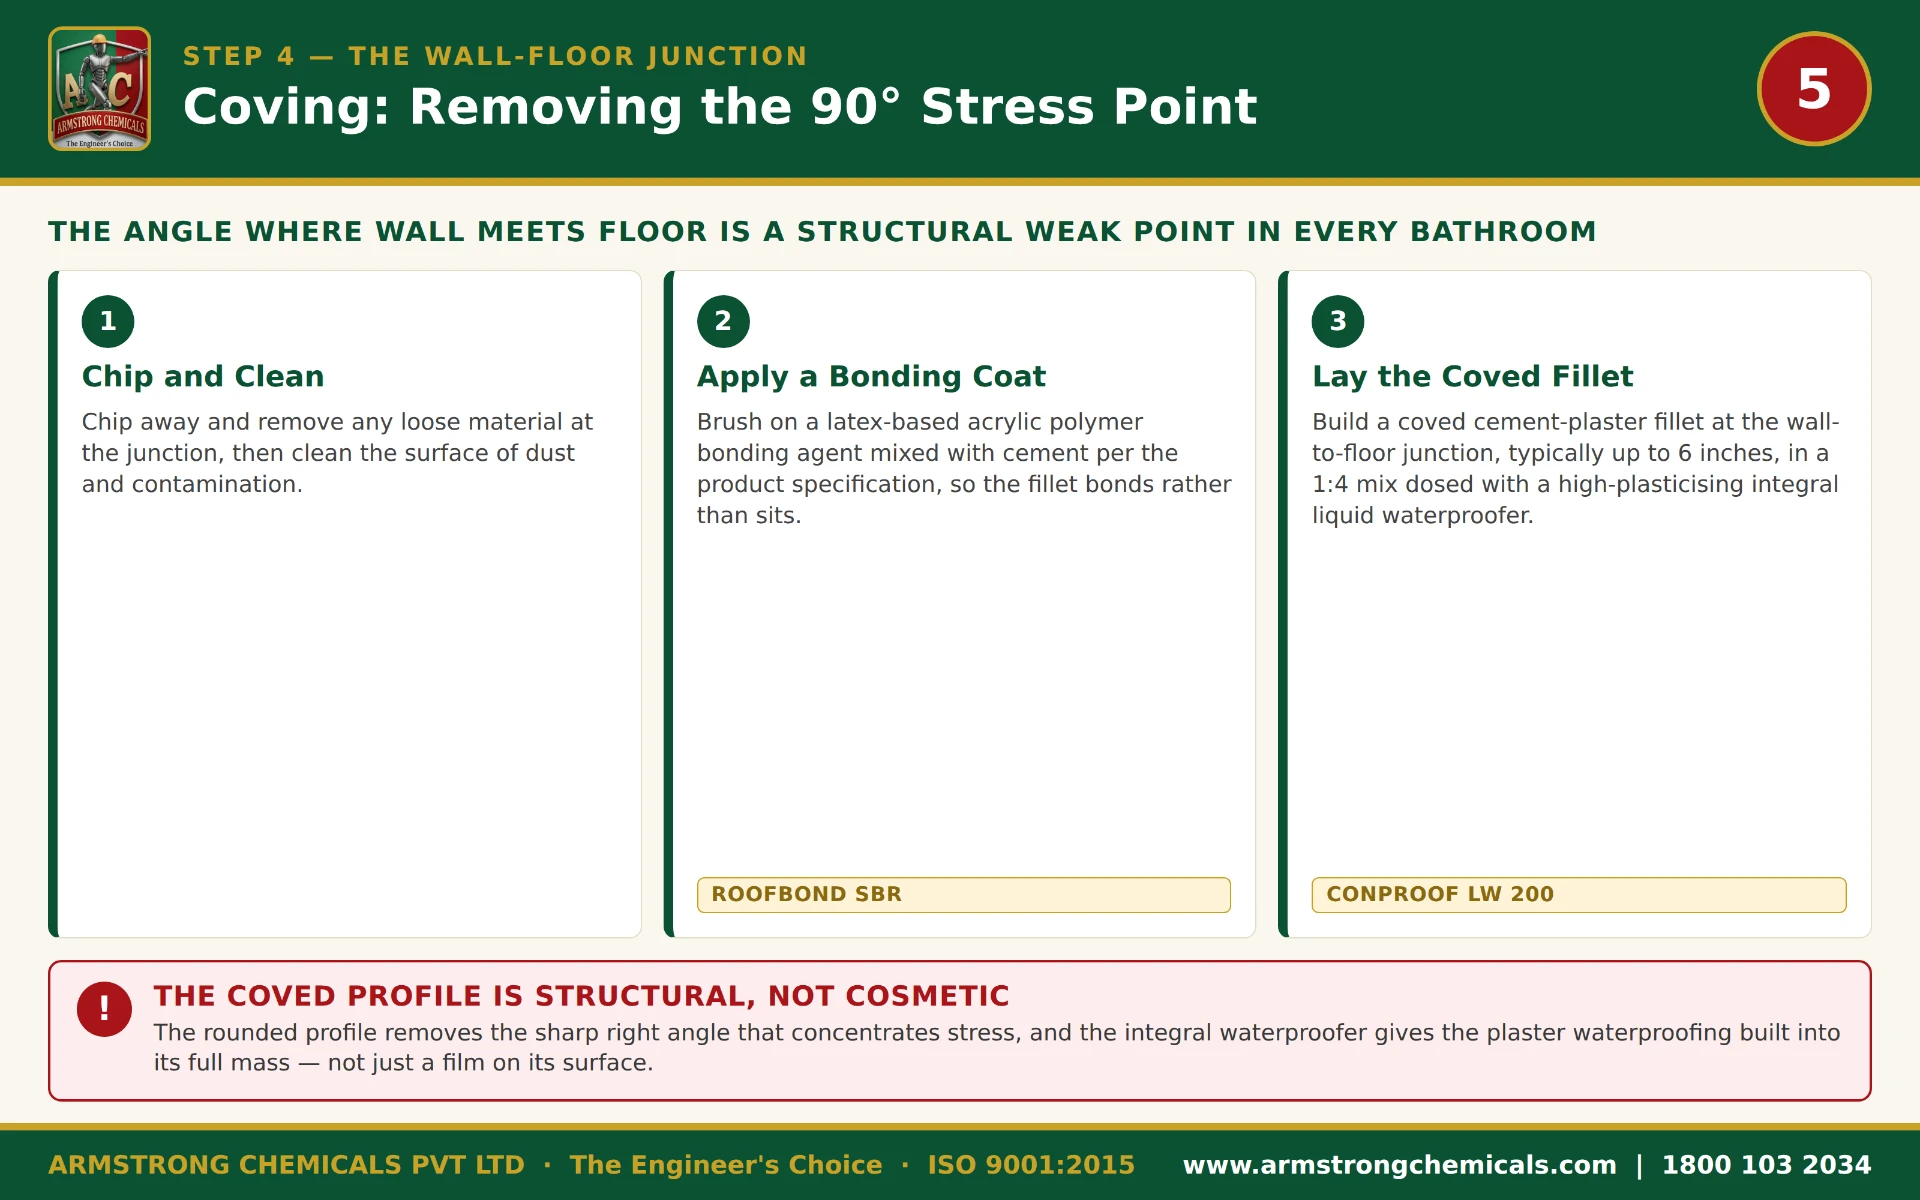
Step 4 — The Wall-Floor Junction: Coving
The 90° corner where the wall meets the floor is where membranes fail first. It is both a stress concentration and a dirt trap, and a membrane folded into a sharp 90° angle tears under the smallest movement. The fix is a cove — a rounded-sm fillet formed at the junction that rounds the corner, so the membrane runs up the wall continuously without a sharp fold.
Armstrong forms the cove with ROOFBOND SBR 401 — a styrene-butadiene rubber latex bonding agent — and CONPROOF LW 200, an integral waterproofing admixture, dosed into the cove mortar. The SBR gives the fillet adhesion and flexibility; the CONPROOF LW 200 makes the mortar itself watertight, so the cove is not just a shape but a waterproof element.
The cove is formed after the membrane has been applied and ponding-tested, lapping the membrane up the wall and across the fillet so the corner is fully sealed.
Step 5 — The Waterproof Base Plaster
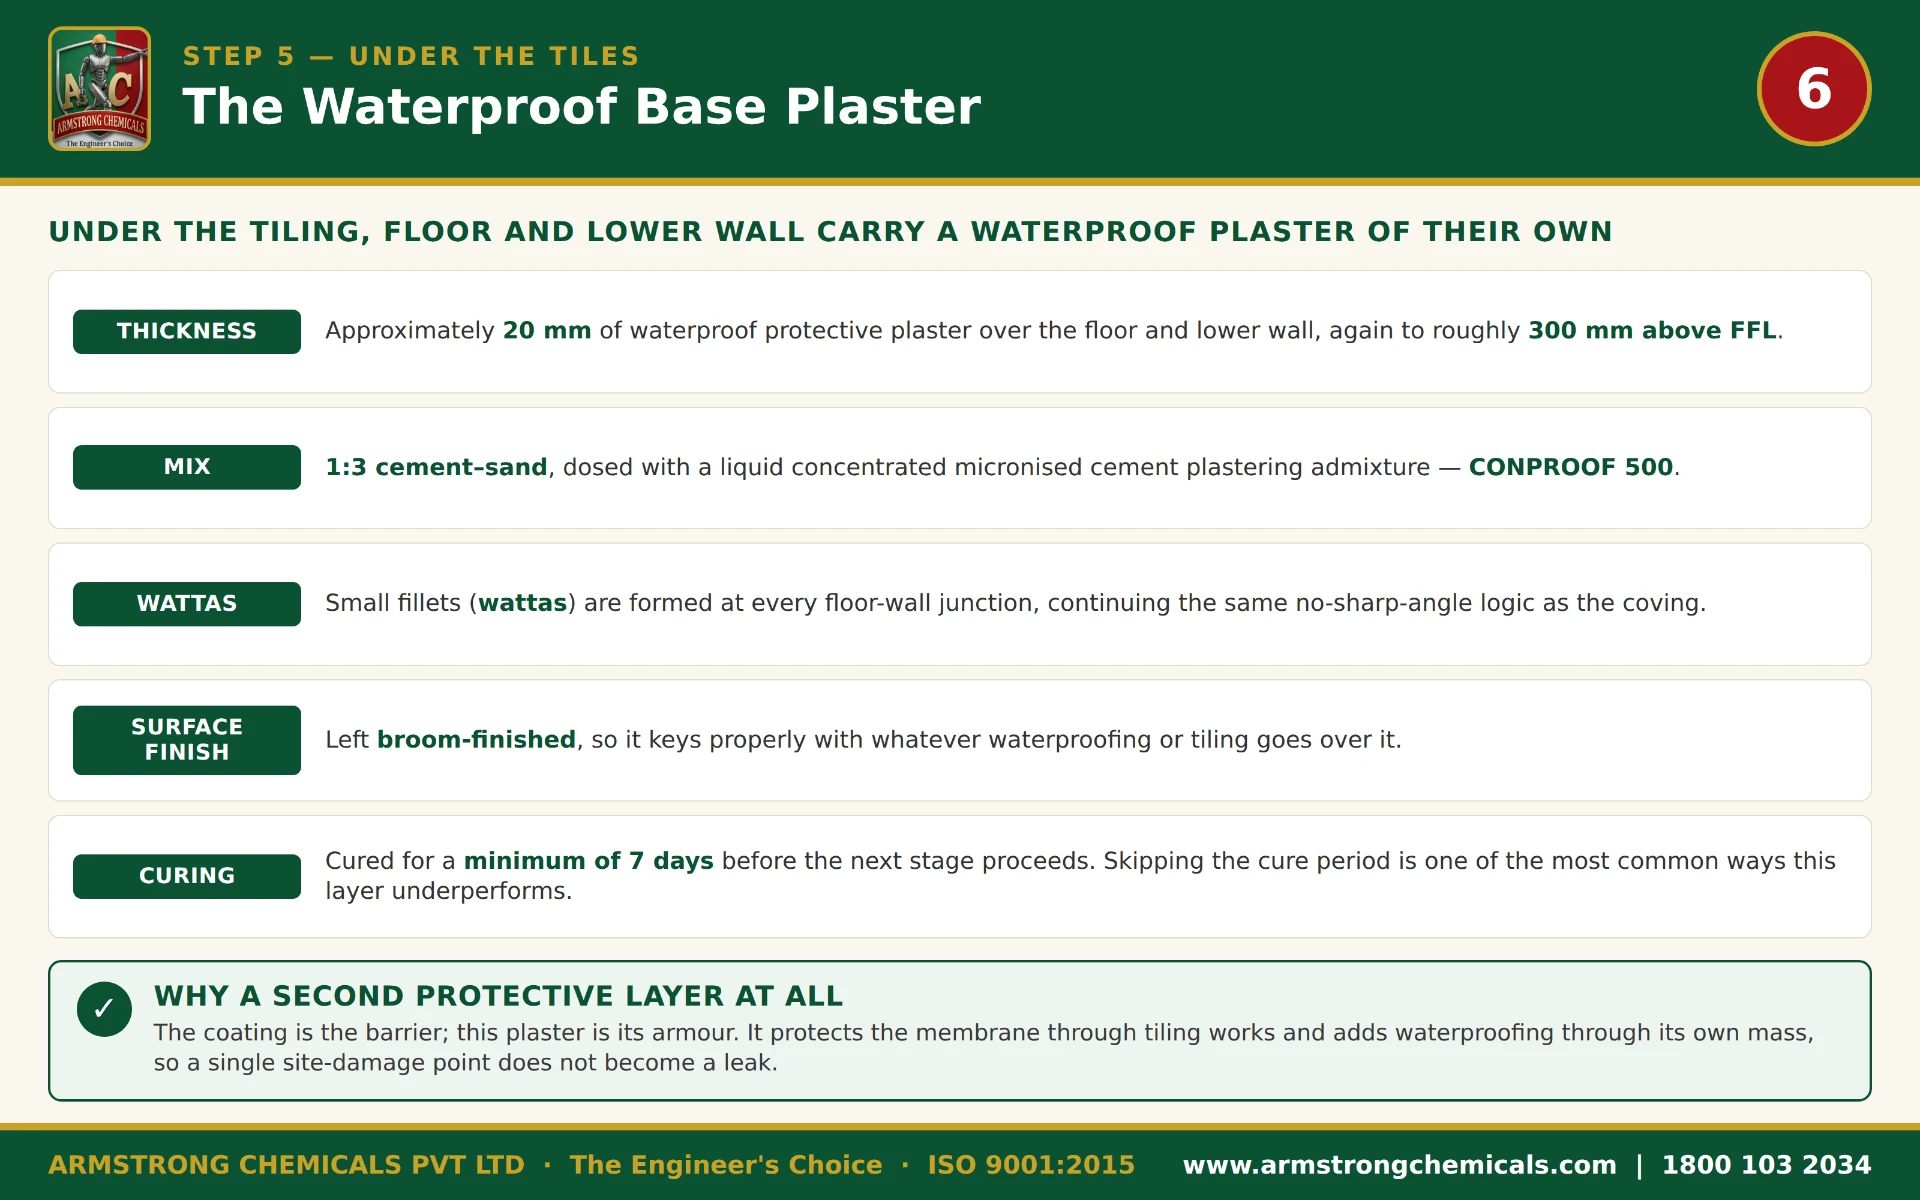
Over the membrane and the cove, a waterproof base plaster is laid on the walls. It does two jobs: it protects the membrane underneath from mechanical damage during tiling and service, and it gives the tiles a true, plumb, sound surface to bond to.
The plaster is dosed with CONPROOF 500 — a micronised integral liquid waterproofing compound with nil chloride content, compliant with IS 2645-2003. It forms millions of hydrophobic particles inside the cement matrix that block and coat capillary channels and voids, so the plaster itself is watertight, not just the membrane behind it.
Cure the plaster for a minimum of seven days. Without curing, the plaster loses strength, shrinks, and can crack — reopening a path for water and weakening the tile bond. Curing keeps the cement hydrated so the capillary-blocking action of CONPROOF 500 fully develops.
Step 6 — Pipe Penetrations Through Walls
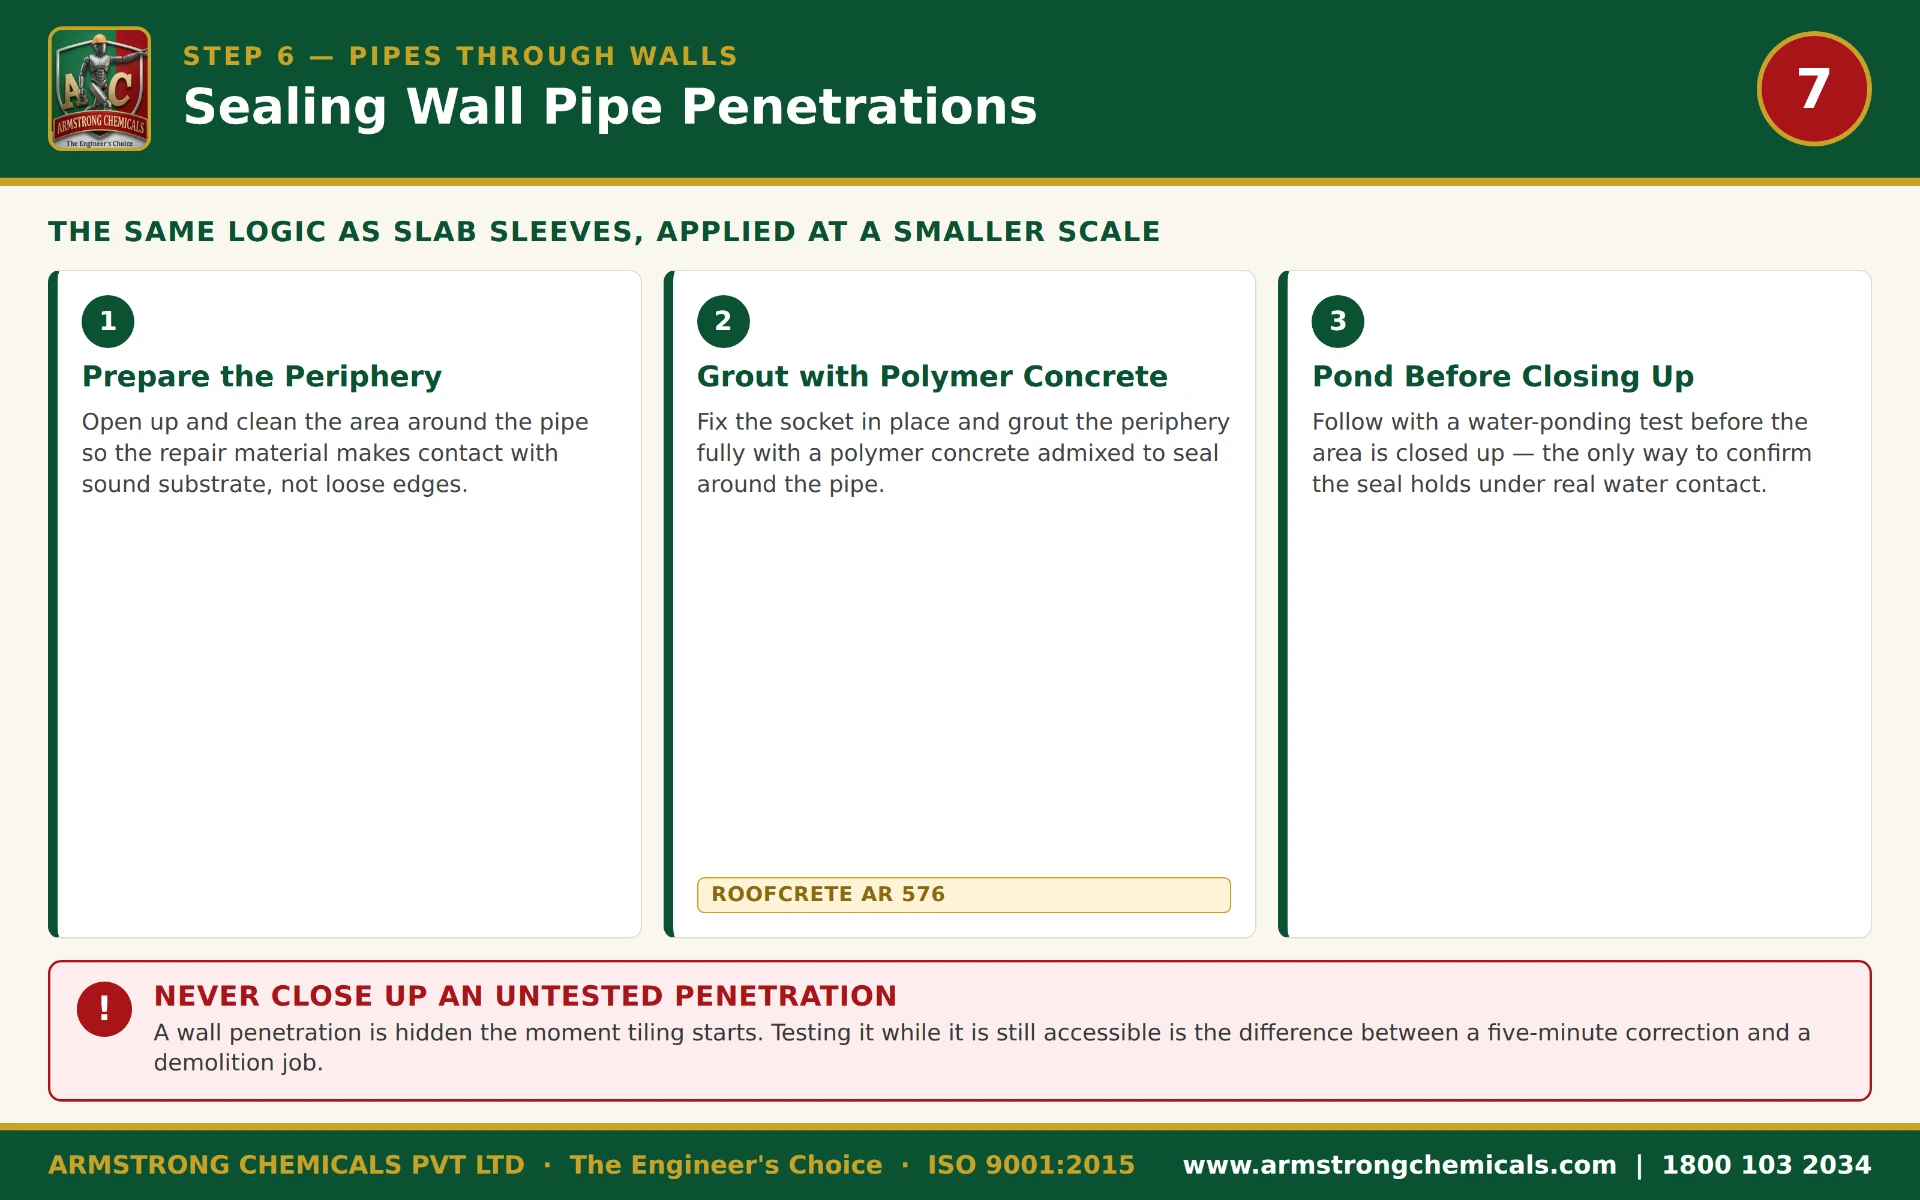
Concealed pipes that enter the wall from the wet area — a shower mixer, a concealed cistern feed, a geyser inlet — are another leak path if the annulus around the pipe is not sealed and the surround is not reinstated with a waterproof material. Water that gets behind the wall at a penetration travels horizontally inside the wall and emerges metres away, which is why a “mystery” damp patch on a distant wall often traces back to an unsealed bathroom penetration.
Seal and reinstate the penetration surround with ROOFCRETE AR — a two-component, pre-packed, polymer-modified structural reinstatement mortar. It packs the annulus around the pipe and rebuilds the surround so water cannot travel along the pipe into the wall. Because it is a structural mortar (13 N/mm² at 1 day, 48 N/mm² at 28 days, nil chloride), the penetration surround regains its original strength and remains reinforcement-safe.
This is done after the membrane and coving steps, so the penetration surround is waterproofed on a surface that is already sound and sealed.
The Engineering Principle Behind All of This
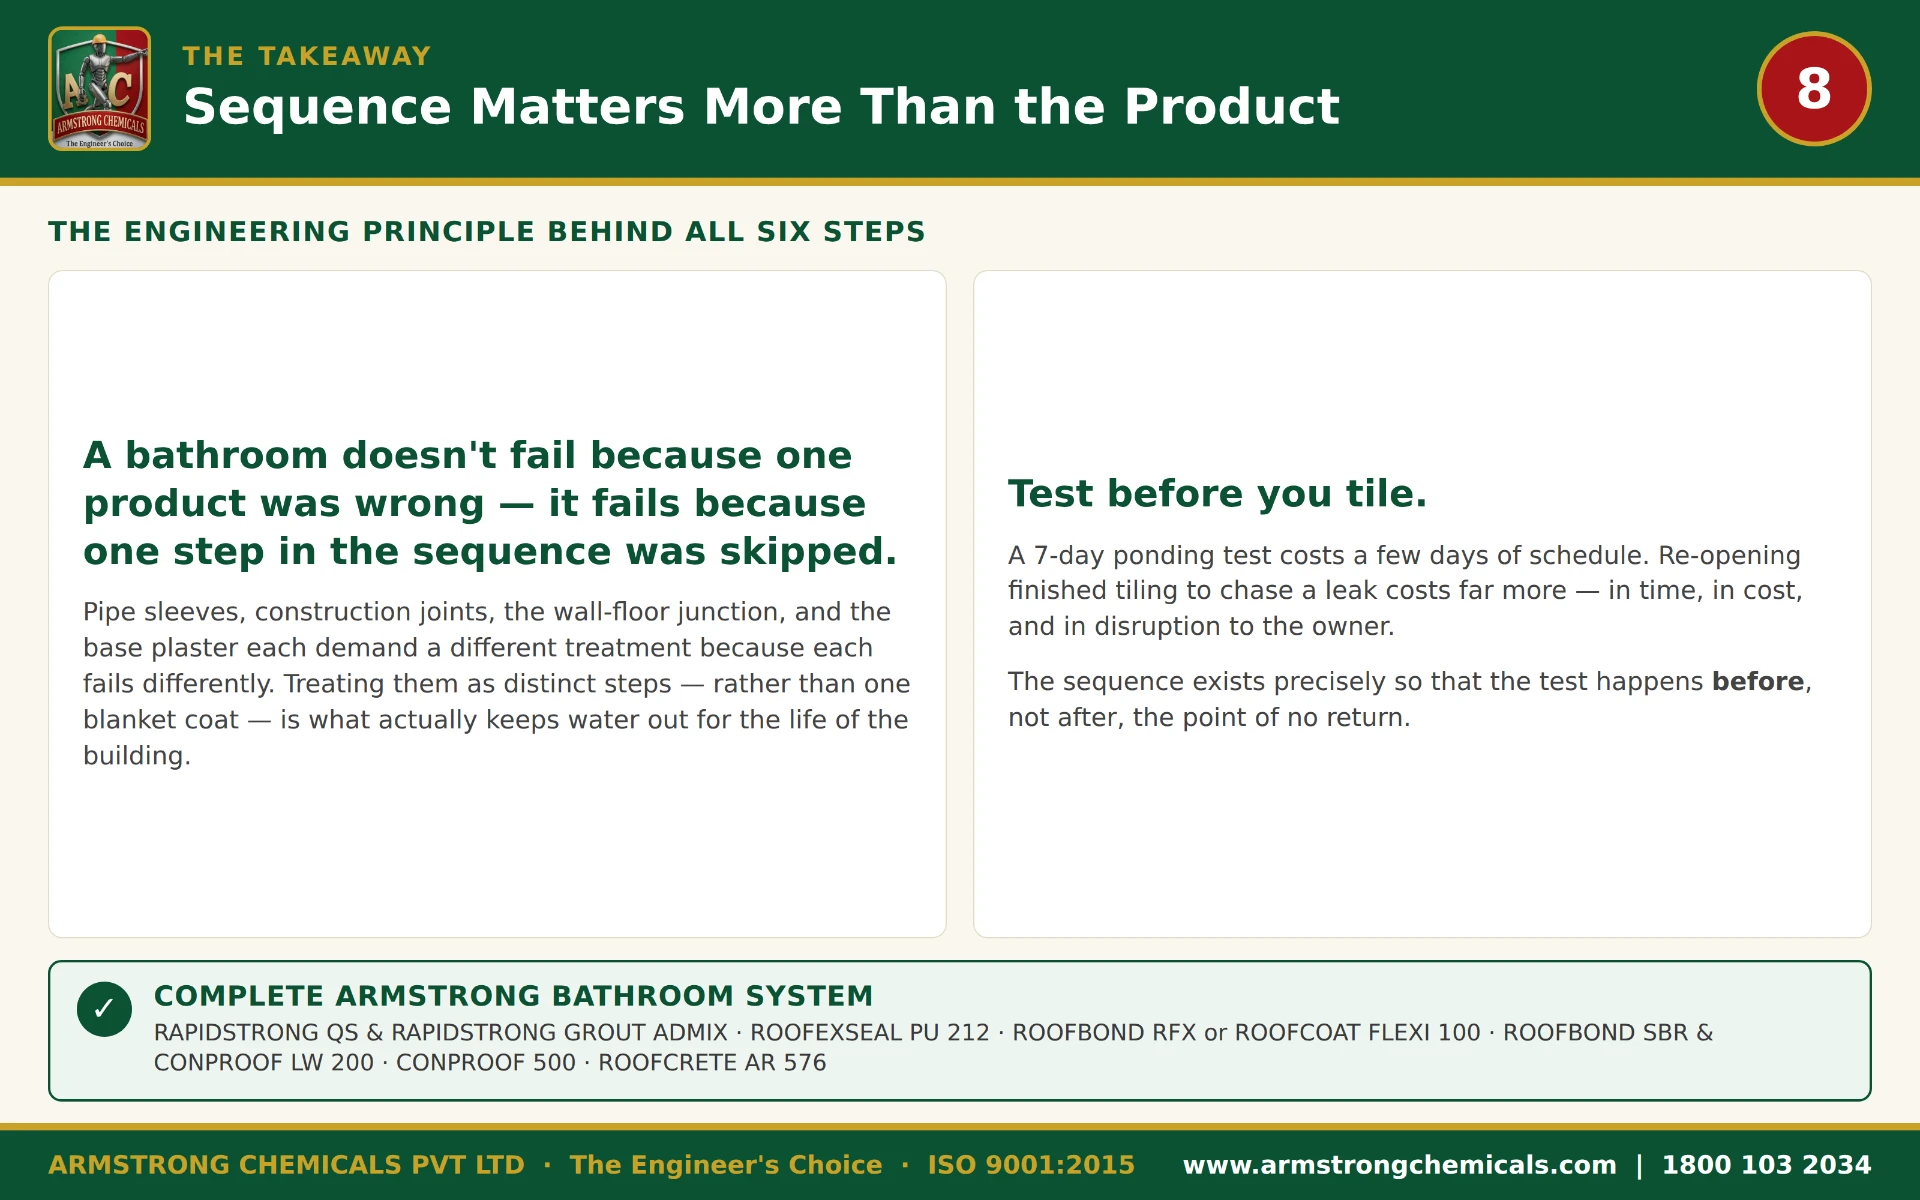
Treat bathroom waterproofing as a sequence of distinct engineering steps — each protecting the next. Don't skip steps. Test before you tile.
Every step in this sequence exists because the one before it made the surface ready for it. Seal the sleeves, so the joints can be treated on a sound substrate. Treat the joints, so the membrane goes over a continuous surface. Apply the membrane, then ponding-test it, so the cove and plaster sit on a verified barrier. Form the cove, so the plaster and tiles have a rounded, stress-free corner. Lay the waterproof base plaster and cure it, so the tiles bond to a true, watertight, strong surface. Seal the wall penetrations, so no pipe carries water into the structure.
Skip a step — or do them out of order — and water finds the gap within the first monsoon. Do them in order, and the system protects itself.
Need a site-specific bathroom system?
Armstrong's technical team can assess the slab condition, sunken depth, pipe layout and exposure, and specify the exact product and sequence for your project.
Bathroom Waterproofing Sequence FAQs
If an older bathroom is leaking, the Bathroom Leakage Repair Guide shows how to find the source and repair it.
© 2026 Armstrong Chemicals Pvt Ltd. All rights reserved.